

Migrating a blog from WordPress to HubSpot is not as daunting as you may think. In our post Website Migration: Moving From WordPress to HubSpot, we gave step-by-step instructions on how to migrate a WordPress website to HubSpot. Today we outline the steps to migrate a blog.
HubSpot Blog Migration Steps:
Step 1: Thankfully, the HubSpot team offers support for migrating WordPress blog articles to HubSpot’s platform.
Your first action is to take an inventory of the blog you would like to migrate. You can use WordPress’ platform to do this, but we also suggest using Google Analytics reporting to see if here are any pages missed in your original inventory.
HubSpot will send a list of URLs that will be migrated to their CMS. Once this list is approved by you (or your client), they will send a payment link, and an authorized user will need to submit payment. This kicks-off the migration process with HubSpot.
LEARN MORE: How We Helped a Seed Funded SaaS Company Grow
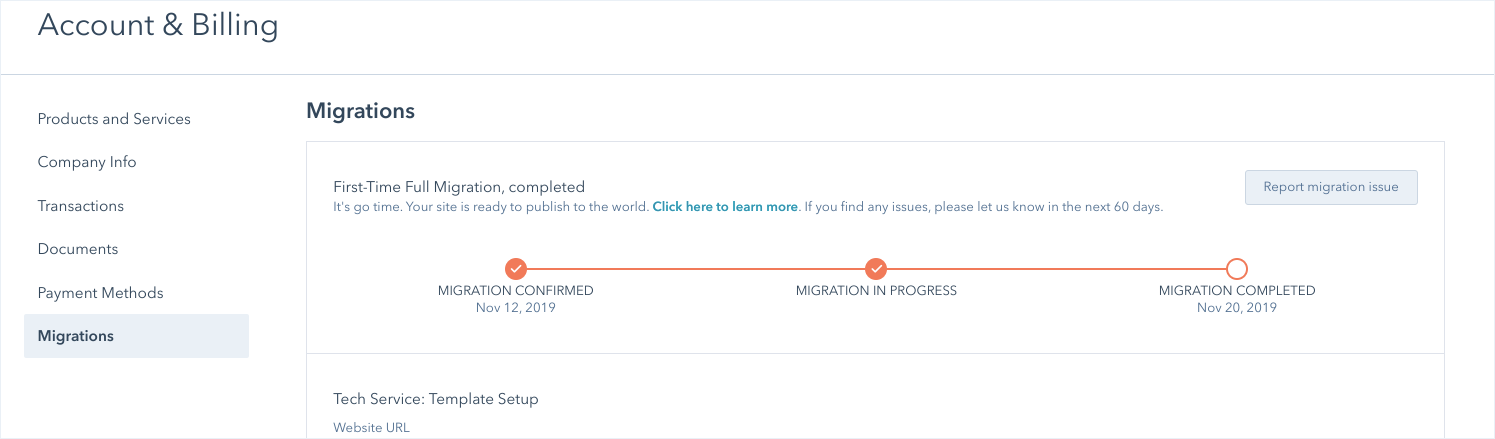
When the migration is underway, HubSpot users can go into their Account and Billing section under Migrations to check on progress. It generally takes two weeks for the migration to be ready for Quality Assurance (QA) review.
Step 2: As the blog is being migrated, you will see pages created in HubSpot under the Blog area.
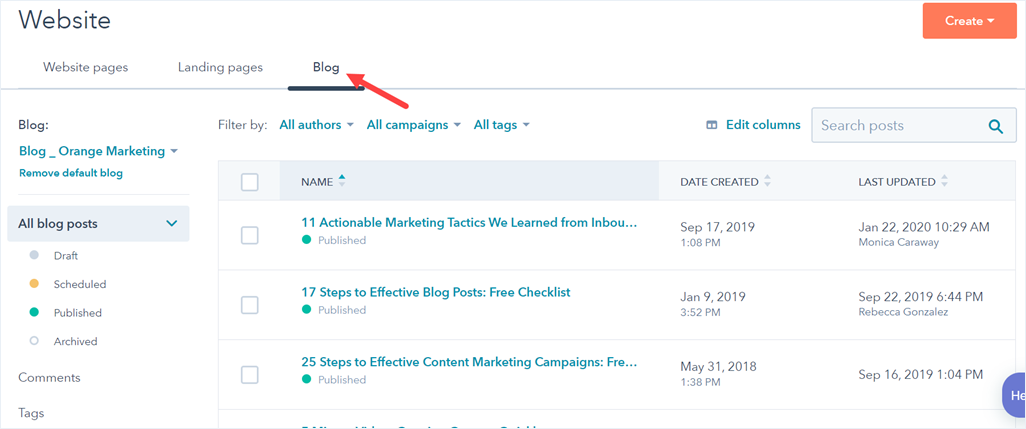
You will notice that these pages are not pointing to your domain yet. They will be pointing to a staging domain hosted by HubSpot in the interim.
At this point, you can start the QA process. Make sure all the blogs in HubSpot match your existing website. Click around in preview mode to make sure the blogs are linking correctly, have the correct images, etc.
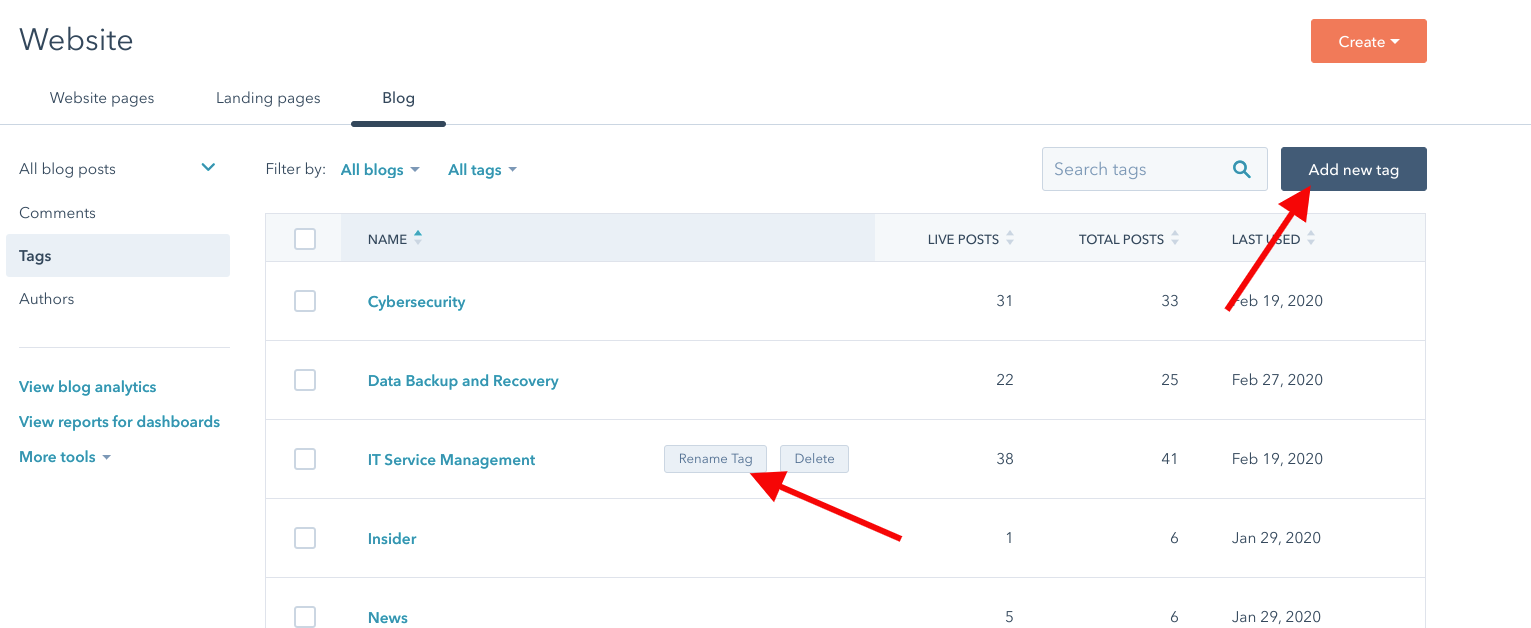
Update Tags
You will need to update your tags. Most templates will pull the tags over on the left side.
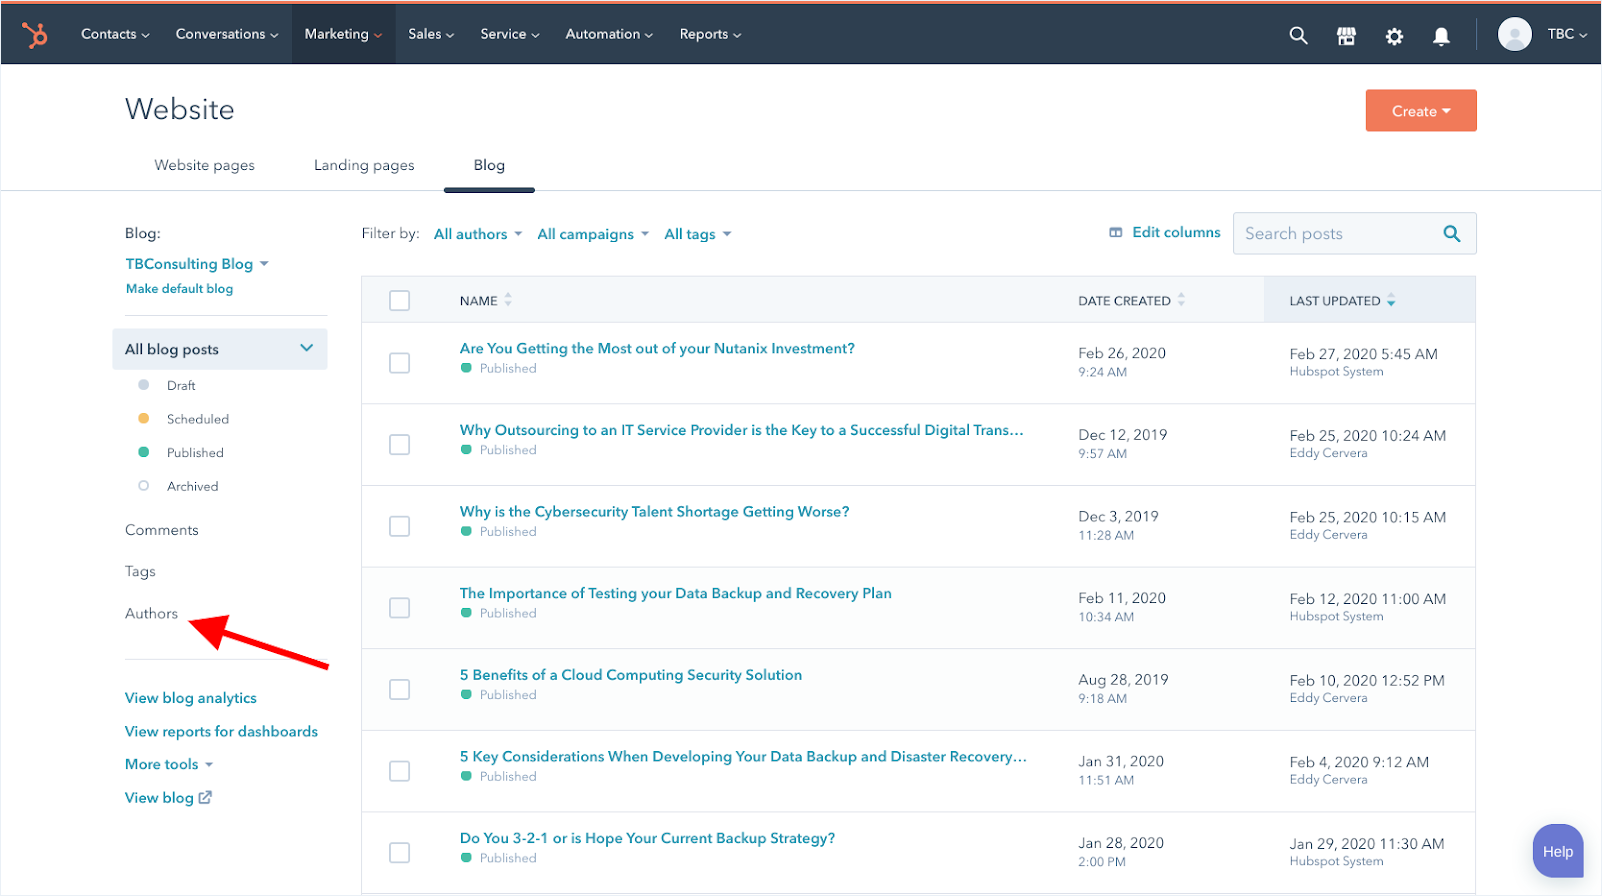
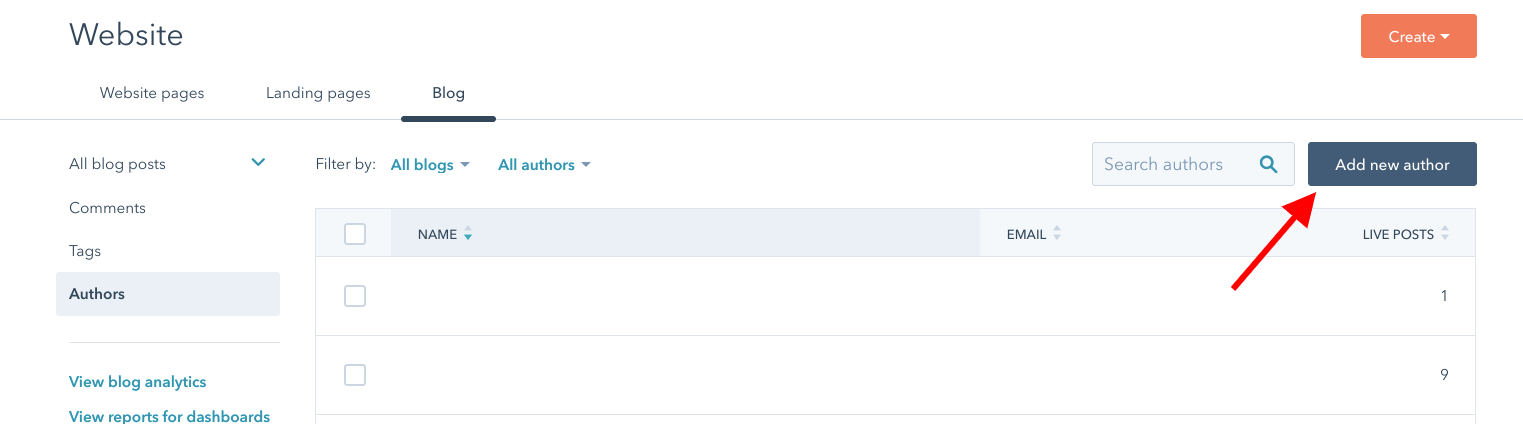
Update Authors
You need to also check that your authors are updated. You may need to add new authors. These will be associated with each of your old and new blogs.
Update Images and Modify Publish Dates
You can update images and modify publish dates. A good SEO trick we use is to update old good-performing blogs with a more recent publication date, new images, and slightly updated content - although do not tweak the content too much as that can impact how well the blog performs. With a recent client, this strategy helped us move a well-performing blog to a featured snippet position on Google. - For tips on snippet positions, see our post Top Snippet Placement Tips from SEMrush.
Check Links
During these QA checks, you should also make sure your blogs are linking to other content within your website or to other blogs. Test all your hyperlinks.
Step 3: Once all of the pages are migrated, it's best practice to have multiple people QA the site.
Note: The URL structure is very important. You want to ensure all existing pages and HubSpot have the EXACT same URL as in WordPress. A useful tool to help with your complete inventory QA checks is Screaming Frog.

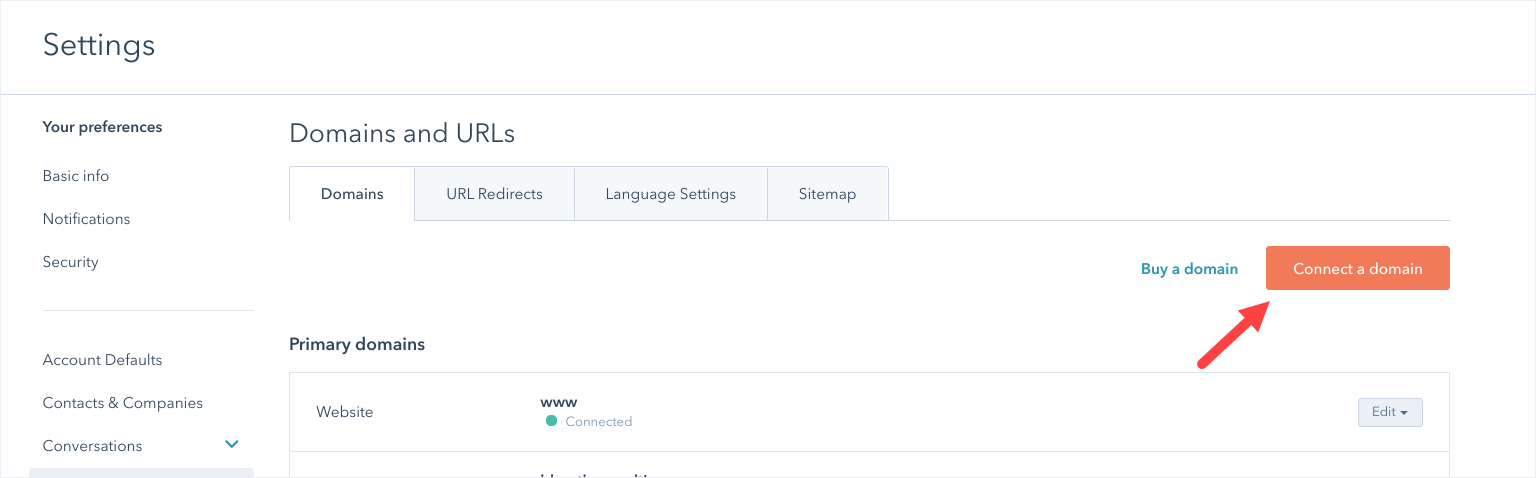
Step 4: Once you have completed all the QA checks above, you are now ready to point to the HubSpot CMS.
In the HubSpot settings Domains and URLs, click connect a domain. The system will walk you through this process.
When you have finished all the steps in that process, you will be asked to make changes to your DNS through your hosting service. If you have an existing SSL, you can use that by following the instructions on the screen, or you can enable the HubSpot SSL.
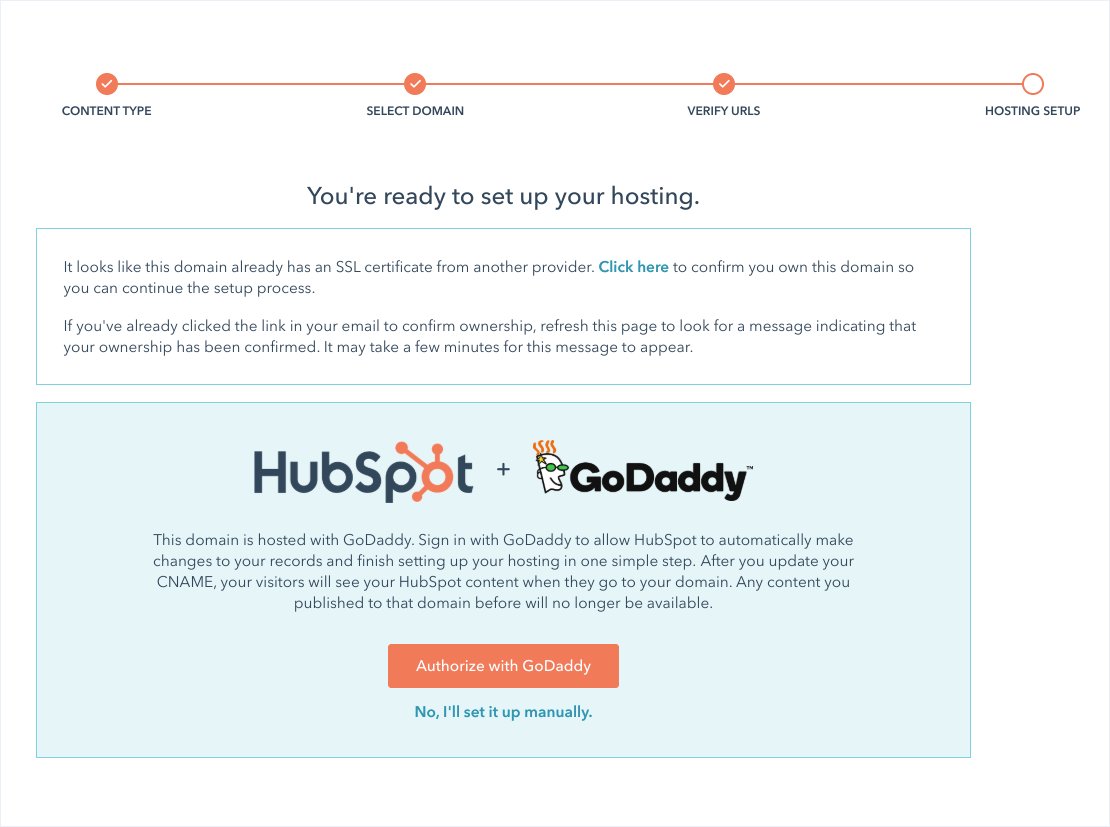
Make sure you have required HTTPS. For tips on how to do this, please see the HubSpot article here.
Once the DNS changes are made, the blog pages in HubSpot should now point to your blog domain.
Step 5: Now, you need to conduct a QA check of the new HubSpot blog. Click through the whole website and make sure you are getting everywhere you need to go.
Step 6: Lastly, unpublish the blogs from the WordPress hosting platform.
After doing this, make sure you haven’t created a bunch of weird redirects. Sometimes HubSpot will automatically create redirects during the unpublish process. Go to the HubSpot Domain, Redirect setting and look through the redirects to remove unnecessary ones.

Additional Resources
- SaaS Medical Startup's Website Makeover Doubles Traffic and Leads
- The Website Messaging Template That Will Improve Your Lead Conversions
- Why HubSpot's Website CMS is a WordPress Killer
- Why Host Your Website on HubSpot & How to Migrate Websites to Hubspot's CMS
- Migrating From WordPress to HubSpot: Step-by-Step Instruction
- Setting Up Your HubSpot Free CRM - The Fundamentals